
 This online help page is dedicated to the SurgeONE.ai Policies and Procedures menu and its associated functionalities. Users can stay ahead of the ever-changing and complex regulatory landscape with Policies and Procedures, an automated and intelligent solution to manage your regulatory compliances.
1. Using the Policies and Procedures Menu
- Click on the left panel menu item labeled as Policies and Procedures to switch over to the Policies and Procedures application.
- The system performs SSO validation.
- Get redirected to the Policies and Procedures application Data Co-Pilot page view after successful validation. The menu option can be seen selected at the left. The Data Co-Pilot is a chatbot which can answer your questions related to specific audits, attestations, etc., depending on your role. You can view you chat history which is stored and displayed in a left panel. More details about the functionality has been description in this section.
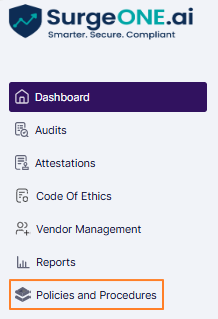 Fig: 1 - Policies and Procedures menu option
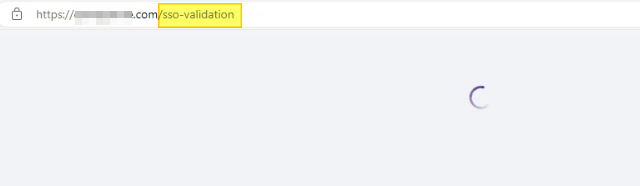 Fig: 2 - SSO validation
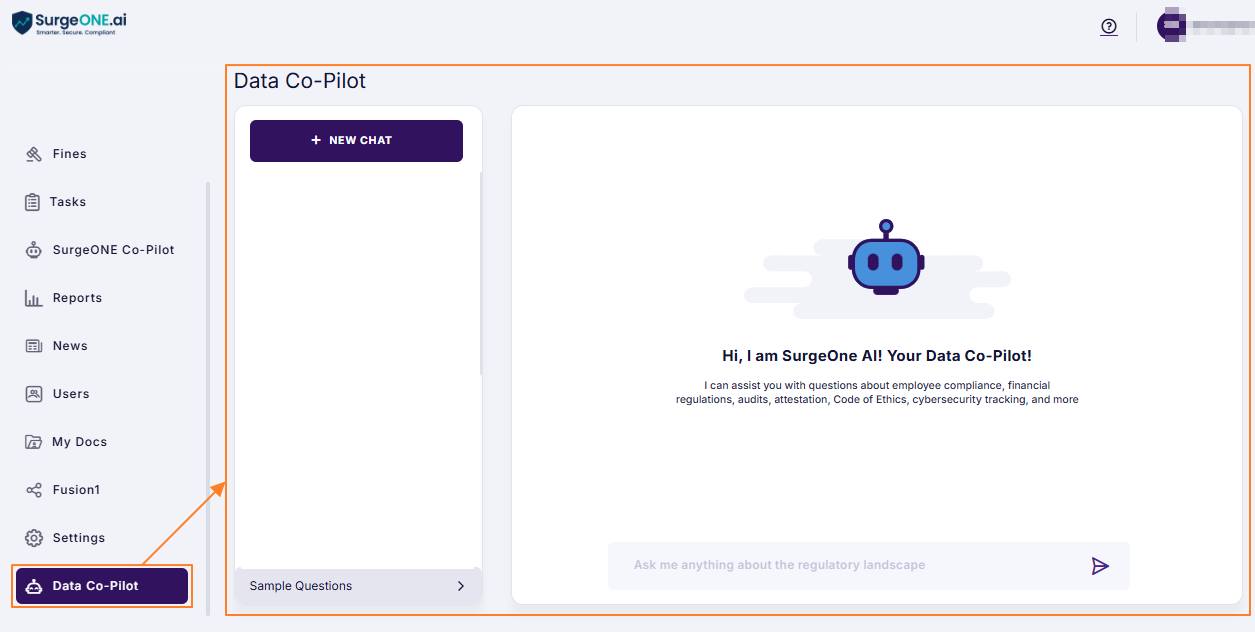 Fig: 3 - Policies and Procedures Data Co-Pilot view
The user can access other modules of Policies and Procedures by using the respective menu options, provided that necessary permissions are granted to the role the user belongs to.
1.2. Error in Switching to Policies and Procedures
Policies and Procedures SSO from SurgeONE.ai encounters unsuccessful redirection when either of the following occur:
- Same company does not exist in Policies and Procedures
- Same user does not exist in Policies and Procedures
- Onboarding process is not completed in Policies and Procedures
The following error prompt is displayed showing the error message: Organization not found with given name in Policies and Procedures, after user clicks on the Policies and Procedures menu option of SurgeONE.ai and either of the above stated instances occur.
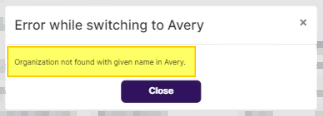
Fig: 4 - Error prompt
2. Understanding the Various Elements of Policies and Procedures Data Co-Pilot
The following points correlate with the numerical values indicated in the screenshot below.
- A + NEW CHAT button is present at the top-left to initiate a new chat with the Policies and Procedures Data Co-Pilot. Refer to the next sub-section to understand better.
- You can enter your query in the text input area. Type your question into the Policies and Procedures chat prompter at the bottom of the screen. You can ask anything about specific audits, attestation and more, depending on your role. More details are mentioned here.
- Use the send query
 icon to prompt the Policies and Procedures Data Co-Pilot to respond.
 - Use the Sample Questions area to load its components and prompt the AI to respond to the sample question. More details are mentioned here.
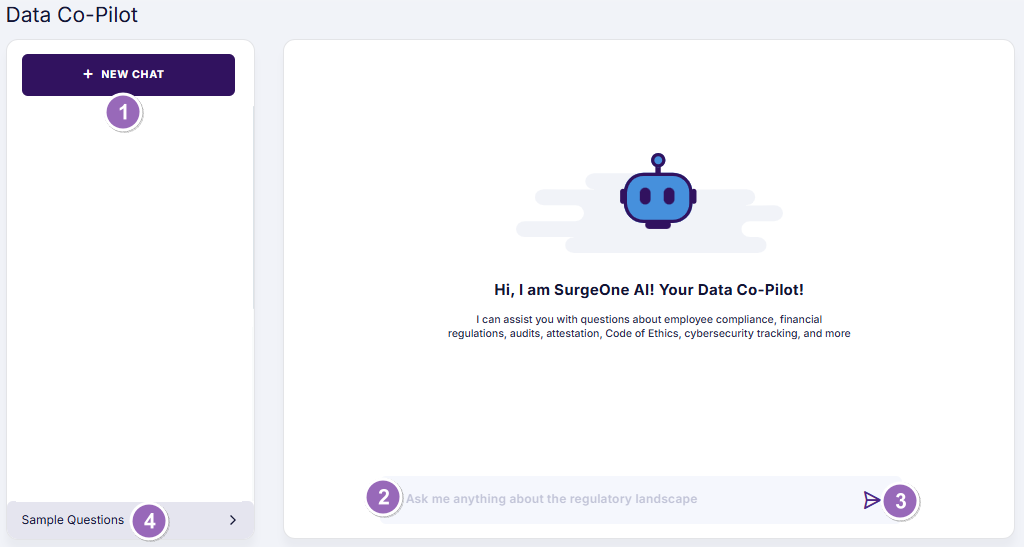 Fig: 5 - Elements of the Policies and Procedures Data Co-Pilot screen
2.1. Initiating a New Chat With Data Co-Pilot
If you are using the Policies and Procedures Data Co-Pilot for the first time, then only the + NEW CHAT button is present at the top-left. However, once you begin chatting with Policies and Procedures Data Co-Pilot, a historical listing can be found below this button. Even then, you can click on the + NEW CHAT button to start a new chat.
 Fig: 6 - Starting a new chat with Policies and Procedures Data Co-Pilot
 NOTE:
You can go to any previous chat from this view. Just click on the chat (of the left panel) which you want to go to.
NOTE:
You can go to any previous chat from this view. Just click on the chat (of the left panel) which you want to go to.
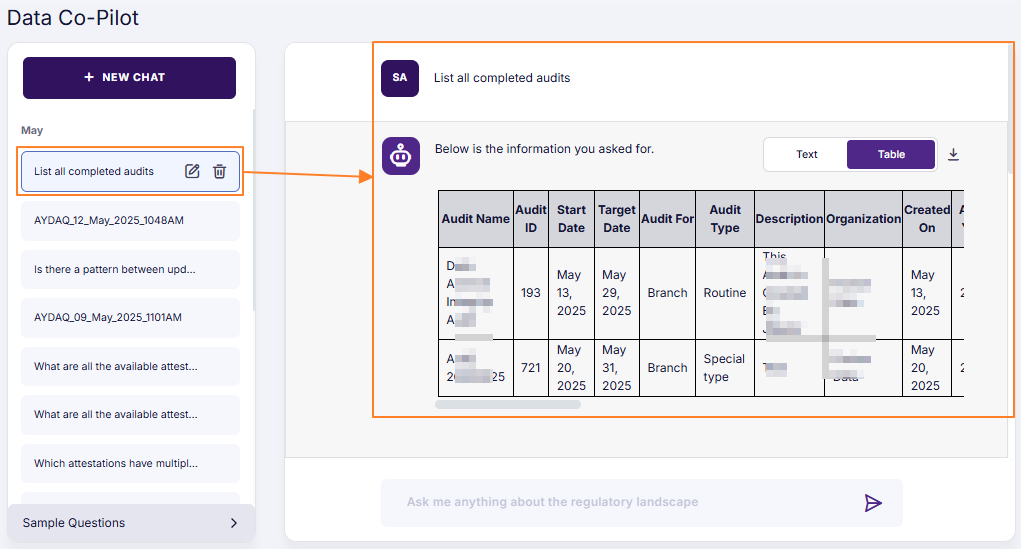 Fig: 7 - Initiating past-dated chat
2.2. Entering Your Query
1. The queries can be currently executed on the Audits, Attestations, Code of Ethics, Cyber Compliance and Vendor Management modules only (as per the functionality at the time of writing this user guide).
2. The permitted user can query the AI chatbot. The assigned role of the user determines the queries the user can make. For example, the Company Branch / Admin role user can query on the supported modules, while a Audit Admin role user can query the AI chatbot on information related to audits only.
- A text input bar is present (with the placeholder value Ask me anything about the regulatory landscape). Proceed to enter your regulatory compliance related query here.
- Click on the send query icon.
- After you click on it, Policies and Procedures Data Co-Pilot begins processing its response.
- The query which you have prompted can be seen at the top. The initials of your user name can be seen also.
- The + NEW CHAT button gets disabled as Policies and Procedures Data Co-Pilot starts processing its response. It becomes enabled only after the Policies and Procedures Data Co-Pilot has finished responding.
- This is the Policies and Procedures Data Co-Pilot response area (identifiable by the grey shading). It becomes populated when it starts responding, after finishing the processing the given query. Here is the view of the chatbot providing its reponse. A blue loader can be seen to indicate that Policies and Procedures Data Co-Pilot is still processing its response.
- The query input bar and the send query icon both are disabled while Policies and Procedures Data Co-Pilot is processing. It becomes enabled only after the Policies and Procedures Data Co-Pilot has finished responding.
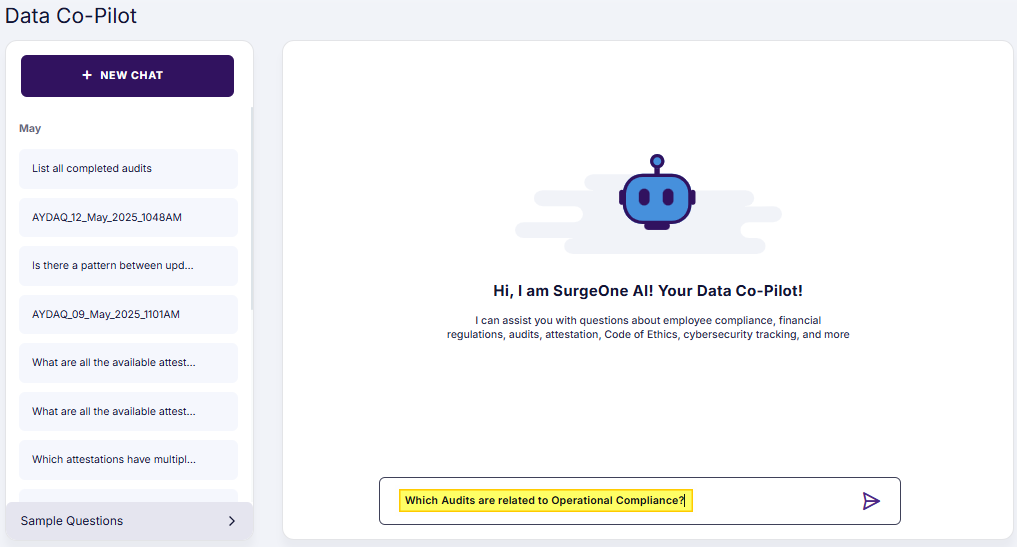 Fig: 8 - Entering custom query
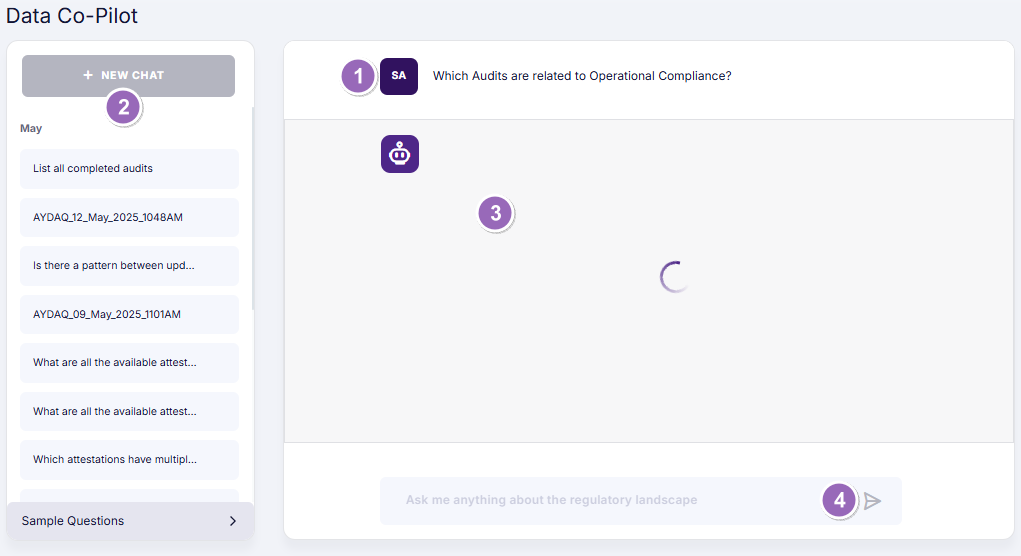 Fig: 9 - Policies and Procedures Data Co-Pilot processing
Refer to the following points which correlate with the numerical values indicated in the above screenshot. These points can help you understand the page functionalities when the chatbot is responding:
NOTE: If due to some reason the AI cannot provide a response, a label can be seen as No data available in the chatbot response area.
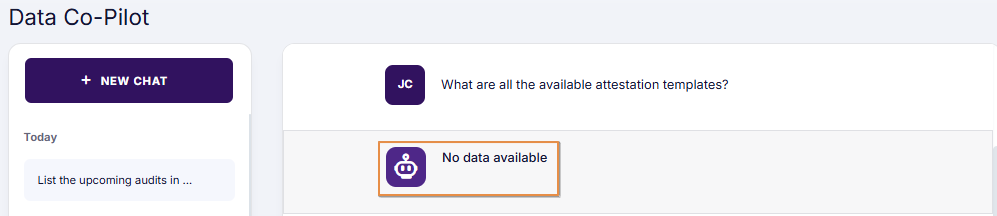 Fig: 10 - No response found
2.3. Viewing a Past Chat
To view a past chat, find them in the left panel area. The following image displays two such past chats. The chat history items are listed reverse chronologically - where the latest chats are at the top and the increasingly past-dated ones are towards the bottom. Chat history is stored and organized by months.
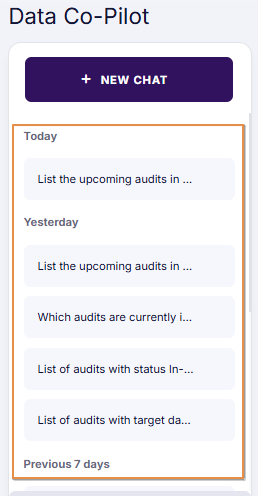 Fig: 11 - Viewing past chat history
By default, the latest chat is displayed. You can click on any chat to load it on the right panel.
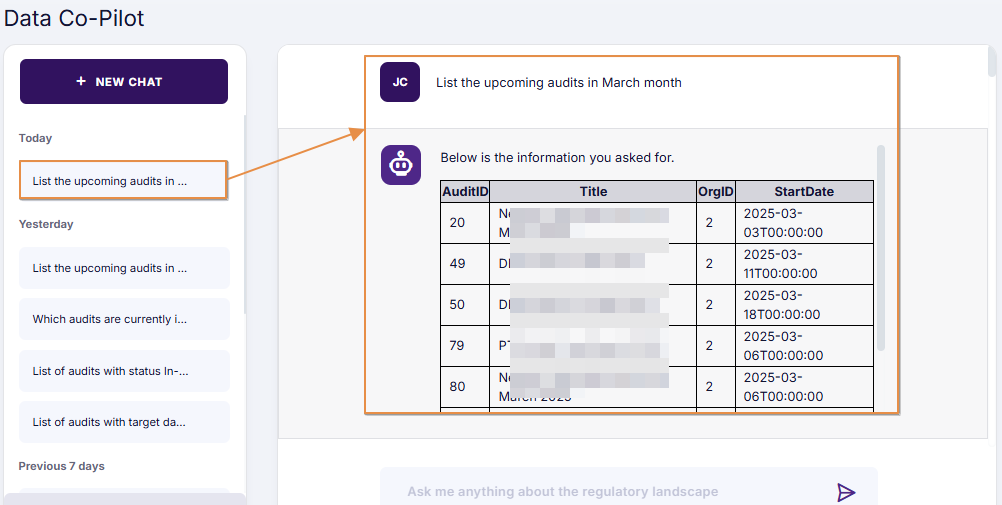 Fig: 12 - Selecting a chat from the past chat history
2.4. Hovering Over a Past Chat Title
Usually the left panel area cannot display the entire query text, and part of it is truncated by the system. You can hover your mouse pointer over a previous chat title displayed on the left panel to reveal the entire query text in the form of a tooltip.
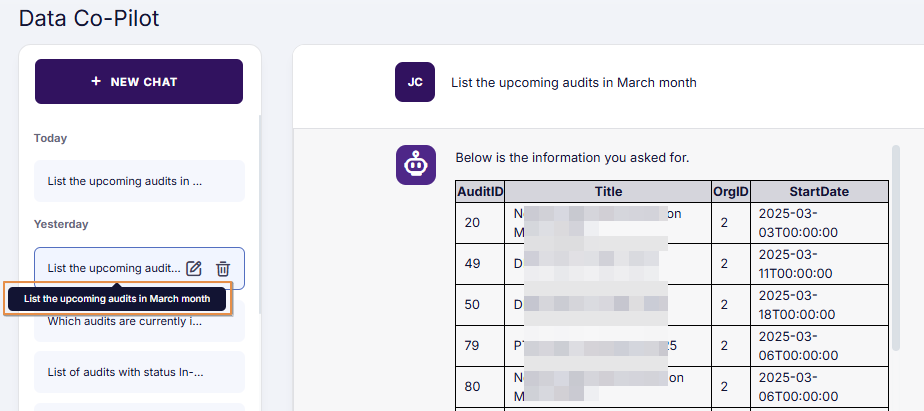 Fig: 13 - Chat query text displayed in tooltip
2.5. Editing a Past Chat Title
- When you hover your mouse pointer over a previous chat title displayed on the left panel, an edit and a delete icon can be seen. Click on the edit
 icon to proceed to modify the chat title.
- The title text becomes editable. A tooltip gets displayed to inform the user that the modified title can be saved by pressing the Enter key.
- Press the Enter key to save the edited text. The modified title gets saved and the system displays a success toast notification at the top-right.
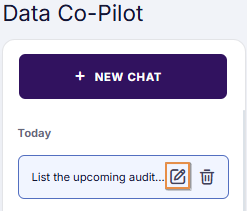 Fig: 14 - Chat edit icon
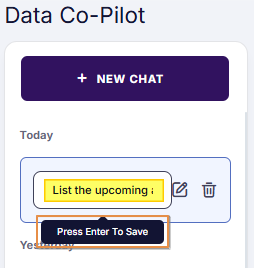 Fig: 15 - Editing the title
 Fig: 16 - Edit success toast notification
2.6. Deleting a Past Chat
- When you hover your mouse pointer over a previous chat title displayed on the left panel, an edit and a delete icon can be seen. Click on the delete
 icon.
icon.
- A confirmation modal window loads. Click on the YES button to provide confirmation for deletion.
- The chat entry gets removed from the left panel and the system displays a success toast notification at the top-right.
 Fig: 17 - Chat delete icon
 Fig: 18 - Yes button to provide chat delete confirmation
 Fig: 19 - Delete success toast notification
2.7. Using the Sample Questions
- Click on the Sample Questions area to load its components. Various sample questions can be used from this section to prompt responses from the AI chatbot.
- Click on the down arrow icon against the listed component labels to expand its containing sample question. For example, the following image displays expanded view of the sample audit related question - Which audit has the highest number of red flags? (notice that the arrow icon changes from down arrow to up arrow against the Audit label). Click on the sample question to fill the query input text area with that preset query.
- Click on the send query icon to prompt the AI to respond to that.
- Here is the sample response provided by the AI to the selected preset query.
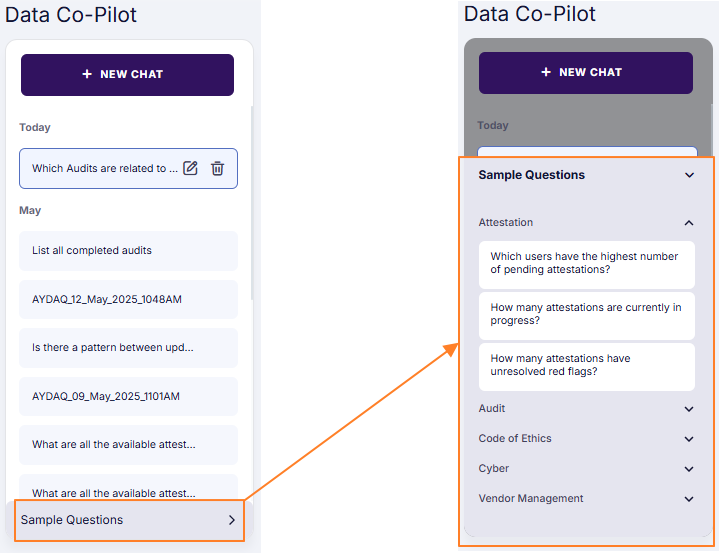 Fig: 20 - Expanded area showing the various default components of the sample questions
 Fig: 21 - View of the default sample question of the chosen Audit category
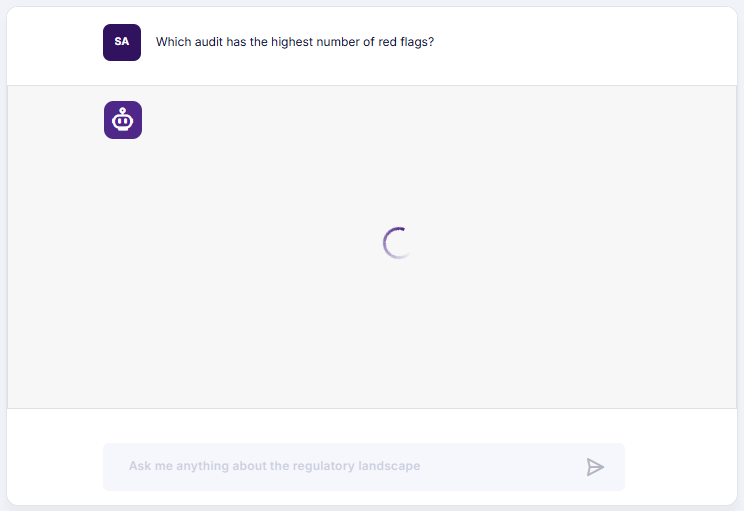 Fig: 22 - Prompting AI to respond to the sample question
 Fig: 23 - Prompting AI to respond to the sample question